Conspiracy! Solo Play Campaign Part 4
Introduction
My Solo Play Campaign continues with another playtest of the Solo Play Rules which I recently posted here. As usual, standard text provides battle report information, while text in italics continues the narrative story.
Scenario Background
Dismounting from their skimmers, Johnny and Wulf carry Durham Red and Maeve to the Gronk. Anxiously waiting for them at the shuttle, the Gronk has his medical bag to hand and is ready to aid the wounded S/D Agents.
 |
Johnny, the Gronk & Wulf by Carlos Ezquerra
Copyright Rebellion 2000AD Ltd |
"Oh my poor heartses," the Gronk gasps. "You's wounded too Mr Johnny."
"Don't worry about that, Gronk," Johnny replies. "They need attention first."
"I's do my bests Mr Johnny."
"That's all I ask little fella."
"Alpha, that's Kansyr's crew approaching," Kid Knee grunts. "I say we get on the shuttle and get off this planet."
"You go to your own shuttle Kid," Johnny says. "Our one's going nowhere. I want to shut this 'Organisation' - whoever they are - down for good. We're staying but you can leave now."
"Oh, you'd like that, wouldn't you Alpha? Stiff us for the bounties you pick up, eh?"
"Listen ya wee nyaff," Middenface growls at Kid, "Ah've warned you before! I'll kick you in the geggie again if ye dinnae shut it!"
"No time to vait Johnny," Wulf warns, showing Johnny his warrant meter. The screen relays a live camera feed from outside the spaceport. A large group of outlaws are attacking spaceport security. "They're closing in!"
"Hell, I thought we had a little more time on our side," Johnny curses, grabbing a skimmer and revving the engine. "All right, keep outta sight until Wulf and me make our move. We'll let them close in then take the fight to them! The rest of you protect the shuttle!"
Kicking up plumes of dust, Johnny and Wulf spin their skimmers around and roar out of sight. Middenface, Kid Knee and Blubberlips pull cargo boxes from the shuttle to take cover. Peering into the distance, they see the indomitable figure of Kansyr and his band of outlaws taking up their positions by the spaceport towers.
"Right lads," Middenface shouts, "keep oor heids doon until we have tae...then we'll gi'e these bampots laldy!"
Forces
Player Band
Johnny Alpha (hero mode) 19 Notoriety (Leader)
Wulf Sternhammer 15 Notoriety
Middenface McNulty 13 Notoriety
Durham Red 13 Notoriety
Blubberlips 5 Notoriety
Kid Knee 4 Notoriety
Total: 69 Notoriety
Enemy Band
Kansyr 11 Notoriety (Leader)
Max Bubba 18 Notoriety
Kubo (Bubo's brother) 14 Notoriety
2xBad Boys 14 Notoriety
Howler 6 Notoriety
Steelkreeg 15 Notoriety
Total: 78 Notoriety
Game Notes
Job: Takedown
Encounter: Raiders
Collateral: 150,000 for Player Band (100K spent on skimmers), 100,000 for Enemy Band, not spent.
Special Rules:
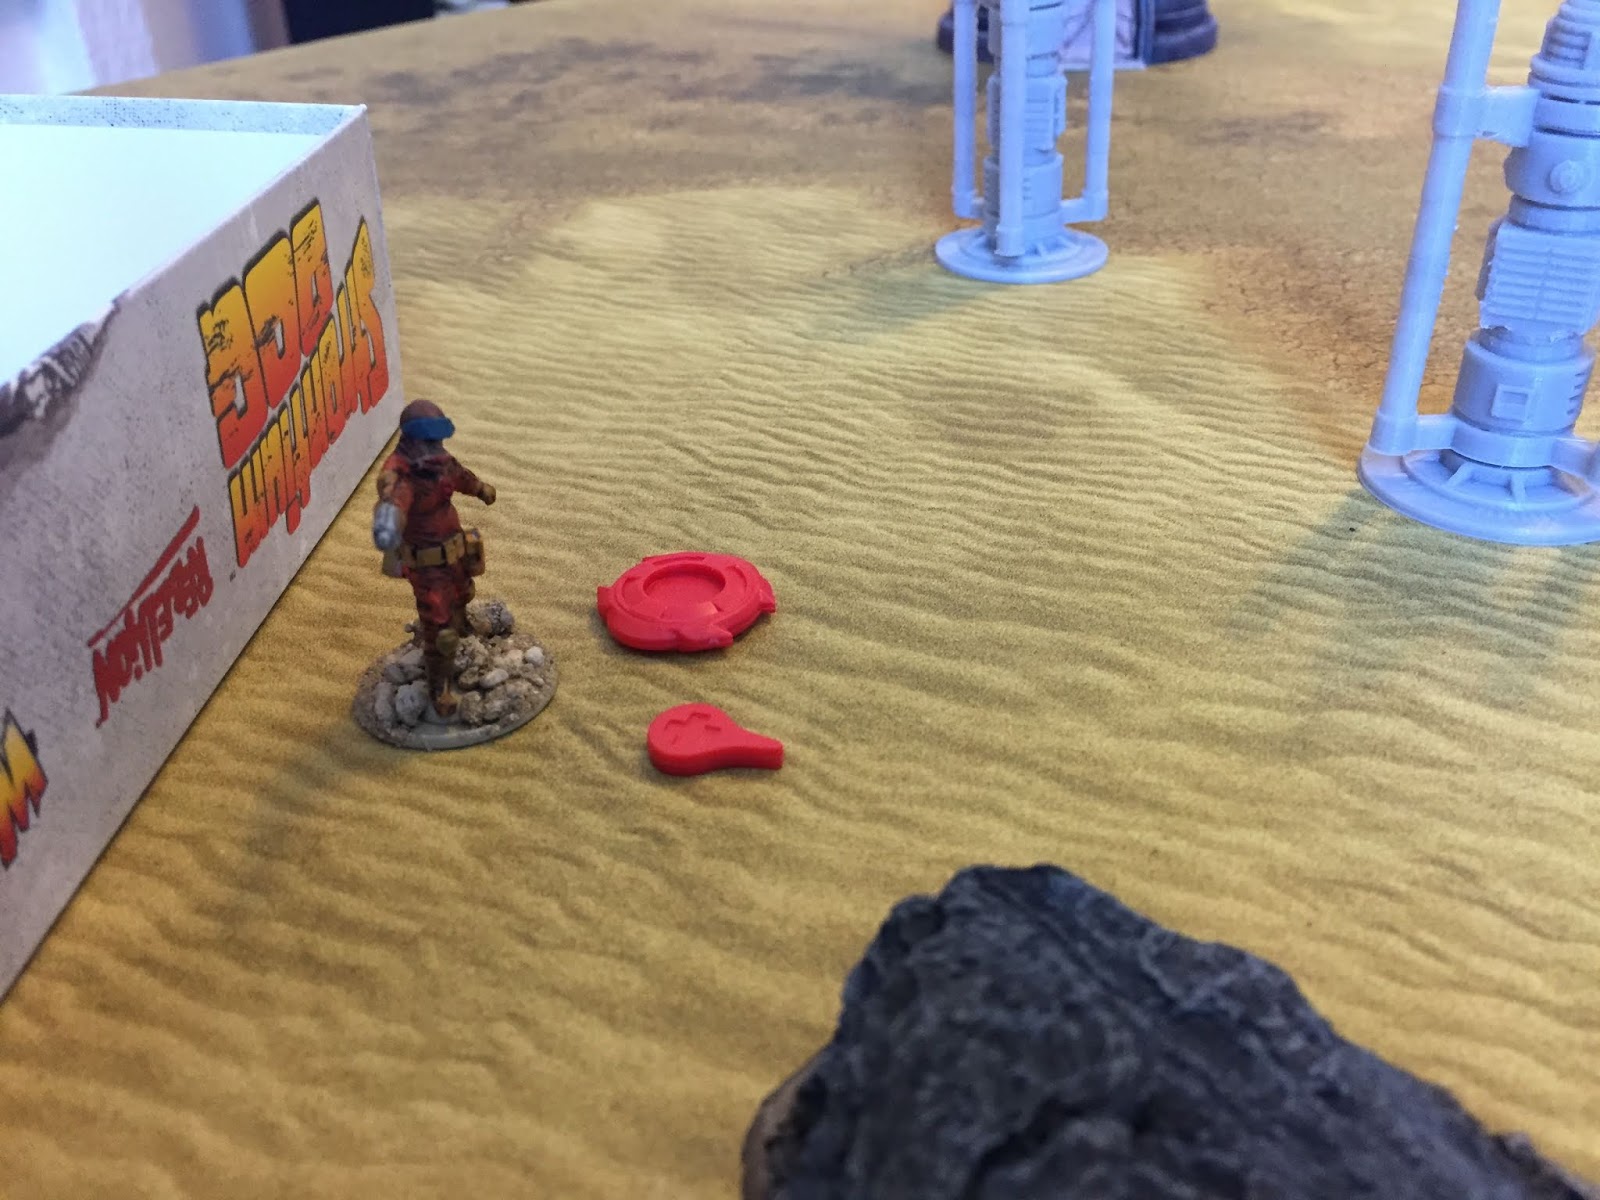
1) Durham Red is being tended to inside the ship by the Gronk. She is able to exit the shuttle and join the fight on turn 3. Maeve will not be able to join the fight as her wounds are too severe (hence both her and the Gronk being omitted from the force lists).
2) Max Bubba's focus is in destroying the shuttle (no easy feat); he will fire one aimed shot at the shuttle per turn and will not attempt to return Star Chips to the bag (as he requires to use a double action to fire the Blazooka each turn and being pinned will prevent this).
3) Max Bubba is equipped with a Dimension Warp. When subdued/incapacitated or if he destroys the shuttle, he activates this to automatically escape! This does, however, cost a Chicanery Card to play and you must always keep at least one Chicanery card in your hand to facilitate the escape, even if this is at the cost of an ally being subdued or incapacitated.
4) The shuttle cannot take off or move at all. If it is destroyed, any models inside are hit as per the usual vehicle rules. If the Gronk and Maeve survive the explosion, their models can be placed upon the table but they effectively do nothing as the Gronk tends to her.
5) Kubo is Bubo's brother. He has the same stats as Bubo and operates the same way in the game.
Kansyr's gang win the encounter if the shuttle is destroyed or all enemy SD Agents are subdued or incapacitated. Johnny's gang win the game if Max Bubba is forced to flee without destroying the shuttle. Anything else is a draw.
Kansyr's gang set up along one board edge. If Max is removed from the fight without the shuttle being destroyed, make a judgement call; if Kansyr's band look like they have a good opportunity to defeat the SD Agents, then they may fight on until they are outnumbered 2:1, at which point any remaining models will Sprint from the field of play. If Kansyr's gang are already looking frail, that process of fleeing should begin immediately. Johnny's gang may set up anywhere in their half of the board.
The Encounter
Johnny's band! Johnny and Wulf start on skimmers!
Durham Red is also part of the band but remains in reserve until Turn 3. Also, these are the Armoury and Chicanery Cards the band have.
Kansyr's band!
They have 7 Chicanery Cards as their disposal, one of which is set aside for Max Bubba to use his Dimension Warp to escape the battle when required.
Board layout.
As above but with models in position.
Spaceport security neutralised, Kansyr's gang set their sights on destroying the shuttle that Johnny and Wulf had chartered. They take up their positions...
A Howler activates to fire his Stormer which has 24" range, not 16" inches as incorrectly stated on the stats card.
On Kansyr's instruction to attack, a Howler stares down his gun scope for enemies. He spots movement behind one of the crates - Blubberlips! The Howler squeezes off a shot...
The cargo crates in front of Blubblerlips take the hit!
...but the cargo crates take the fire! Blubberlips sees a smoking bullet hole mere inches from his forehead!
He is next to activate and makes a rash decision to break cover...
Blubberlips realises that his blaster doesn't have the range to return fire!
"Kid, we gotta get closer," he shouts, breaking cover and sprinting forward.
"You big-lipped buffoon," Kid Knee curses. "That's not the plan! Get back here!"
...and, sprinting, he gets himself into position behind a moisture vaporator. Next turn he will be in range and will benefit from the cover protection!
"The plan wasn't to sit there till they kill us either," Blubberlips responds, taking cover behind machinery. "Now I've got cover and range on this scum!"
Except Kansyr has other ideas! He uses his Mind Warp to take control of Blubberlips. The mutie wanders out from behind cover into danger! I forgot that Kansyr's Mind Warp is a Double Action rather than a Single Action which meant that the Snap Shot which followed shouldn't have happened!
"Come to think of it," Blubberlips continues, somewhat dreamily. "I gotta get closer still. To hell with cover!"
"Snap out of it Blubberlips," Kid hollers. "It's that snecker Kansyr, he's controlling your mind!"
Sure enough, as Blubberlips strolls from cover under Kansyr's spell, the alien laughs, raising his blaster!
Blubberlips is wounded!
And he shoots, wounding Blubberlips!
Fortunately for the mutant, Kansyr fails to return the Star Chip to the bag and is pinned.
"Weak-minded fool," Kansyr snarls. "You will die a slow death!"
Middenface McNulty activates and is just in range to target Max Bubba in the tower.
"Whit in the name o' Tunnocks are you pair daein'," Middenface roars his disapproval at his fellow S/D Agents. "Ah telt ye tae stay put!"
Max makes his Evade though, triggering his Gunfighter ability! The return fire is accurate but Middenface manages to duck out of sight just in the nick of time!
Middenface opens fire at Max Bubba in the tower, but his foe is too quick, evading Middenface's attack and returning a shot! Fortunately for Middenface, the crate he is behind absorbs the gunfire!
Kubo is next to activate.
Bubo's brother, Kubo, sniffs the air. He knows Johnny Alpha is close by but hasn't picked up his scent... yet!
His Mork moves him up the battlefield and he takes cover behind some crates.
He kicks his mork and it races forward to towards Middenface. He knows that where that Scottish oaf is, Alpha won't be far away.
Middenface activates again but his aim is off and he misses!
Middenface attempts to fire upon the advancing Kubo but misses!
"Jings, ah wish ah wis as handy wi' a blaster as Jocky Wilson wis wi' darts!"
Wulf surges forward but cannot move far enough to get into effective range.
"No one listens to der plan Johnny," Wulf shouts, "is der time for us to help!"
He moves into open ground, managing to get a line of sight to Kubo to hopefully fire in his next activation.
"Ja, is plenty of vork to be done Johnny," Wulf continues as he surges forward. "Steelkreeg, Kubo und more of der Bad Boys - and Max Bubba!"
Kid Knee also fires at Kubo but the alien easily avoids his blaster shot!
Kid sticks his head out between two crates and also shoots at Kubo, but the alien is too skilled a rider, easily dodging the incoming fire!
Wulf is tempted to attack Kubo but he realises that Steelkreeg is an imminent threat! He guns his skimmer forward...
"Got to take verdamft robot down," Wulf vows as he pushes onwards...
...and throws a time bomb!
...and tosses a time bomb at Steelkreeg!
Steelkreeg has no defence, with no Evade and the Solo rules preventing Chicanery Cards from being used to nullify the effects of the weapons, the robot is forever lost to time and the vacuum, of space! One of the Bad Boys is incredibly fortunate to make their Evade roll and escape certain doom! Wulf fails to return the Star Chip to the bag and is pinned!
"++Curses, not a time-" Steelkreeg says, his voice silenced as he vanishes, transported in time and space to the cold vacuum of space.
Kubo sees Kid Knee is distracted by the flash of the time bomb and seizes his chance...
"Headless wretch," Kubo growls, his gaze firmly on Kid Knee. "I will deal with you!"
...charging the mutant and badly wounding him! Kubo also returns his Star Chip to the bag!
"A-A-Alpha," Kid Knee stutters. "need some help!"
No reply comes however, and Kubo shoots Kid in the arm!
Johnny is unaware of Kid's predicament as he roars forward to target Bubba in the tower!
But Johnny cannot hear anything due to the roaring of his skimmer bike! He follows Wulf to hurtle forward into enemy terrain...
Johnny hits Bubba but he passes a Cool test which enables him to spend a Chicanery Card to nullify the attack (Solo play rules only)! Johnny returns a Star Chip to the bag.
Johnny shoots at Bubba but has no success!
And reactivates, pushing forward to assist Wulf with the two Bad Boys!
Johnny is concerned that Wulf is overexposed to enemies, so forfeits a potential attack upon Kubo and focusses upon the Bad Boys!
He fires at the Bad Boy but is only able to stun the alien. He returns the Star Chip to the bag again!
He shoots but only inflicts a stun upon his enemy!
Kubo activates and charges, attacking the already wounded Kid Knee a second time!
Hearing one of his Bad Boys in distress, Kubo draws a wicked looking blade from his belt and slashes Kid across the chest with it!
Kid is incapacitated! He is pinned as he fails to return the Star Chip again.
Kid screams, collapses upon one of the crates and lies still. Kubo enjoys the moment, spitting in disgust at his felled opponent.
One of Kubo's Bad Boys shakes off his Stun and fights Sternhammer at close quarters...
One of Kubo's Bad Boys engages Wulf at close quarters...
...without success!
All he succeeds in damaging is Wulf's Gronk fur pelt!
The remaining Bad Boy also activates...
The other Bad Boy rushes to his friend's side...
But also fails to wound the Viking warrior...and return the Star Chip to the bag!
...but equally is not up to the challenge of wounding the Viking!
Max Bubba activates next, making an aimed shot upon the shuttle - but is unable to inflict any damage!
Max Bubba carefully aims his Blazooka at the shuttle and pulls the trigger. The rocket makes a screaming sound as it whizzes through the air then hits its target! By some fluke the shell deflects off the hull, exploding nearby, doing no more damage other than shaking the vehicle! The Gronk inside the tank yelps but continues treating the two wounded SD agents.
Johnny activates for a final time this turn, firing two rapid snap shots at one of the Bad Boys.
"Gotta help out the big fella," Johnny mutters to himself.
One hit is neutralised with a successful Cool test and Chicanery Card, but the second hit inflicts two wounds! End of Turn 1.
One of the Bad Boys cries out as a bullet tears through its thick fur!
Turn 2 seems like a good time to use Wrong-Footed! That's the Bad Guys losing two chips this turn, and one of them a star!
Johnny's strategy is working reasonably well - he's wrong footed Kansyr's gang so far!
The Howler activates, shooting at Blubberlips, but is unable to even stun the wounded mutant!
The Howler shoots at Blubberlips but the S/D Agents armour absorbs the hit!
Max Bubba is next, hoping to do some damage to the shuttle this turn!
"Such an easy target," Max thinks as he once again targets the shuttle, "but that armour is taking everything my blazooka has to offer. Wait, those engine vents..."
Max hits and rolls a maximum 5 damage! The shuttle only rolls 1 armour result from 6 Combat Dice! It is blown apart in a spectacular explosion!
Max pulls the trigger and the shell hurtles through the air but this time striking the vents which sends a fireball through the interior of the shuttle! Vdooomff! Red, Maeve and the Gronk spill out of the burning wreckage and collapse into the sand! The Gronk's fur is on fire but it is a heart-attack that renders him unconscious!
Wulf attacks the unwounded Bad Boy...
"By der Gotts," Wulf exclaims as the sky is lit up by the explosion of the shuttle!
...but - somewhat uncharacteristically - only succeeds in stunning the creature! His Star Chip returns to the bag...
The destruction of the shuttle distracts Wulf and he only manages to stun his opponent!
Blubberlips activates...
"What the sneck am I doing," Blubberlips wonders aloud, suddenly feeling extremely vulnerable stood out in the open! "Gotta take cover!"
...and moves behind a rocky outcrop before firing but missing the Howler!
Blubberlips makes the cover but his shot misses his target!
The Howler activates and returns fire but the cover saves Blubberlips from further harm!
But the Howler can do no better, the rocky outcropping saving Blubberlips again!
Wulf attacks again, this time becoming Pinned after Going for Broke! and failing. He does at least land one wound on the alien creature!
"You want der fight, old cucumbers? Wulf is happy to oblige!"
One Bad Boy yelps as Der Happy stick breaks an arm.
Having taken a few moments to savour the carnage around him, Kubo turns his mork around...
"Knee freak die good," Kubo nods with satisfaction. "Now, where Alpha?"
Johnny Alpha is his target! He makes two single moves (he is facing the wrong way to sprint) before returning his Star Chip to the bag, making a showdown with Johnny highly likely!
"Alpha," Kubo hisses as he spots the S/D Agent who arrested Bubo.
He turns his mork around and closes in on Johnny.
Middenface reacts to the danger, Moves forward and then engages Kubo in a Fight - sticking them head on him!
"Aw naw ye don't," Middenface says, rushing forward. "You'll no' be getting' anywhere near mah pal Johnny, no' if ah've got anything tae dae with it!"
Somehow Middenface contrives to heafbutt thin air!
"Stitch this," Middenface shouts, as he attempts to headbutt Kubo - but misses!
With a kick from Kubo, the mork breaks wind in McNulty's face and rushes off!
...and Kubo's succesful Evade helps his cause, moving him closer to Johnny!
"No' even able tae hit a mork's bahookie wi' a banjo," Middenface laments, "that's whit they'll say! Ah'll never live it down!"
Kubo activates, Moves and then fires...
Kubo closes in on Johnny and fires his blaster...
...but Johnny jinks the controls and Evades the attack!
But misses...
Kubo's Star Chip goes back in the bag before coming straight back out!
...before he rushes in to attack Johnny at close quarters!
Kubo engages Johnny in close combat, fighting him twice!
Kubo stuns Johnny...
...as does the second - but Wulf uses his Look Out Johnny ability, swapping places! Wulf takes the stun and now he is head to head with Kubo!
Note: I was unsure if this was a legal move, particularly because both Wulf and Johnny are on skimmers but I could find nothing in the rules about this situation. Also, Cool tests were passed for the stuns which meant both S/D Agents were not thrown off their skimmers.
...but when he makes his second strike, Wulf pulls a crazy manoeuvre to trade places with Johnny in the melee!
Kubo's luck runs out as he is Pinned after a failed attempt to return the Star Chip again.
"What the-" Kubo hisses in confusion at the audacious manoeuvre.
Kansyr's Snap Shots simply shoot up Blubberlips' cover and, to add insult to injury, Kansyr fails when he Goes For Broke!
Meanwhile Kansyr opens fire upon Blubberlips but once again cover comes to the rescue!
Johnny attacks again but has no success. As this is the last chip in the bag, no attempt is made to return it to the bag. End of Turn 2.
Off balance from the tight manoeuvre he and Wulf pulled off, Johnny tries to attack one of the Bad Boys but misses!
Kubo is first to act in Turn 3. He attacks Wulf but is unable to inflict any further damage and fails in returning his Star Chip. His plan for vengeance is beginning to look in trouble!
Kubo tries to strike Wulf, but the human just shrugs it off! Kubo is dumbstruck!
Wulf fights back but a Chicanery saves Kubo! A second attack does not and he suffers three wounds!
"Der Happy Stick vill be your end, voorm!"
But even though his mallet does find its target, Wulf is agog that it fails to put his opponent down!
Kansyr activates and moves off the table.
The shuttle destroyed, Kansyr is satisfied the job is completed. He removes himself from the scene, once again escaping to fight another day!
Middenface activates and moves forward, taking a Snap Shot as he does so...
"Haud on big yin," Middenface cries, "ah'll show this hoolie!"
...but a Chicanery Card comes to Kubo's rescue!
But once again Middenface fails to harm Kubo!
This only angers Middenface who immediately uses Go For Broke! successfully and reactivates! He fires off another two Snap Shots and Chicanery saves Kubo again...
"Ye've mair lives than mah Aunt's mangy auld cat," Middenface shouts, unloading his blaster at the rider.
But only for one shot! The second finally incapacitates Kubo!
"But ye've used 'em all up! They don't call me the Tartan Terror fir nothin'!"
Finally a bullet shoots Kubo through the abdomen and with a cry, he crashes to the ground. Kubo's fight is over!
The Howler is next to activate and opts to follow Kansyr in exiting the makeshift "spaceport".
"Another time Dog," the Howler spits at Blubberlips before following his master out of danger.
The only option for the Bad Boys is to fight on - if they attempt to leave combat they will be hit and immediately incapacitated. Wulf's enemy tries to strike but his piloting of the skimmer allows him to Evade and counter-attack!
The remaining battered Bad Boys try to attack once again...
This time Wulf makes no mistakes and the Bad Boy is finally incapacitated!
...but Wulf counter attacks one before it can even act, and sends it flying from its mork!
The other Bad Boy fails to so much as stun Johnny!
...And the other is too weak from blood loss to harm Johnny!
Bubba activates his Dimension Warp...
In the tower, Bubba activates his Dimension Warp.
"Be seein' you around, Alpha," he cackles.
...and vanishes!
...before vanishing out of sight!
Johnny activates, clears his Pinned marker and Charges the last Bad Boy!
"You'll be seeing me sooner than you might like," Johnny vows.
Finally, Johnny lands the attack to remove the last Bad Boy from the battle!
Johnny guns his skimmer forward, and as he passes the alien, he cracks it across the head with his Westinghouse - finally the last of the Bad Boys crumples to the ground unconscious! The battle is over!
Aftermath
The S/D Agents that are still standing rush to the wreckage of the shuttle. Red has already put out the flames on the Gronk who in turn is groggily returning to consciousness.
"Max Bubba did this," Johnny says, "and his fingerprints are all over this 'organisation', whoever they are. Ever since we arrived here, Bubba's crew have been involved one way or another. Time to put him and his gang out of business once and for all."
"You can count me out," Kid, who is alive but badly wounded, shouts. "I stuck my neck on the line for you pal and you all abandoned me!"
"I don't want anyone else getting hurt," Johnny says. "I'll finish this myself."
"I know where Bubba is," Red interjects. "Subtlety isn't his style; he has a bunker slap in the middle of town."
"Crazy that the townsfolk have put up with Bubba for so long when they know exactly where to find him," Johnny muses. "One thing bothers me though - this 'organisation' doesn't really seem like something Bubba and his crew would have had the sophistication to put together."
"It's your investigation that's uncovered the link between Bubba, the 'organisation' and the raids," Red shrugs. "Who else could be behind it? In any event, count me in. The Gronk had pretty much finished patching me up anyway so I'm ready to fight!"
"I'm with you too," Blubberlips says.
"Aye," Middenface smiles grimly to Johnny, "an' it goes wi' oot saying that yer gaun' nowhere wi' oot me and the big man, right Wulf?"
"Ja! Ve take them together Johnny... and der bounties vill make a pretty pay day for us all!"
"At this stage Wulf," Johnny says, "I'd happily do it for free. C'mon, let's go get them!"
NEXT PROG: Bubba's Base!
Closing Reflections
I thoroughly enjoyed playing this scenario! Johnny and co did pretty well all round but it was in no way easy! Blubberlips was drawn into a skirmish with Kansyr and the Howler which while it didn't really amount to much in the end, was a concern; had Blubberlips been incapacitated, Kansyr and the Howler would have been freed up to lend their weight against the rampaging Johnny and Wulf. Kid Knee got taken down without having contributed anything really. The major surprise was when Max Bubba annihilated the shuttle which meant Johnny's band lost the scenario just at the time where I thought they were firmly in control! Speaking of Johnny, this was the first time I'd used the skimmers for both him and Wulf; they were great fun, and very powerful! I look forward to giving them another outing!
I'm extremely happy with how the Solo Play rules are working although I have to admit that there were a few actions that I selected for the bad guys which did not correspond with those on the relevant flowcharts. If you can see a better course of action for the enemy to take than the flowchart indicates, I would always say to go with your own instinct and ignore the chart. That is not to say that it hasn't been working in general, it was more a case that I had so many conditions in this battle that the flowcharts could not cover so many variables because they were not designed to do so. I still think they provide a good indication of what course of action to take and I still think they are worth using in Solo Play. If anyone out there has tried out the Solo Play rules, please feel free to comment on this blog, I'm interested to know how you got on!

 I see the Stix as gunfighters at heart so would personally prefer to play them that way. At the same time, it makes sense if you can get close enough to enemies to put that heightened strength to good use and brutalise enemy opponents! Having several Stix on the table, potentially activating several times a turn with their Star Chips, will cause mayhem for your opponent when inevitably some of his models start failing Cool tests and become Pinned. The fact that Stix are slow moving is an issue as you need to get them into firing range and then close in further to make use of their Intimidation before possibly engaging enemies in close combat. It's worth bearing in mind that they have good Resist so if you are unable to manoeuvre Stix into a position to claim hard cover, at least try to put some sort of cover between yourself an opponents, i.e. soft cover, enemy models will struggle to inflict much punishment before Stix are close enough to return fire.